Essential Historic Window Restoration Techniques
Restoring historic windows requires care and skill. We want to preserve the original character of the building. At the same time, we need to improve the window’s function and durability. This post covers essential historic window restoration techniques. We will explain practical steps and share useful tips. Our goal is to help you maintain the beauty and value of your historic property.
Understanding Historic Window Restoration Techniques
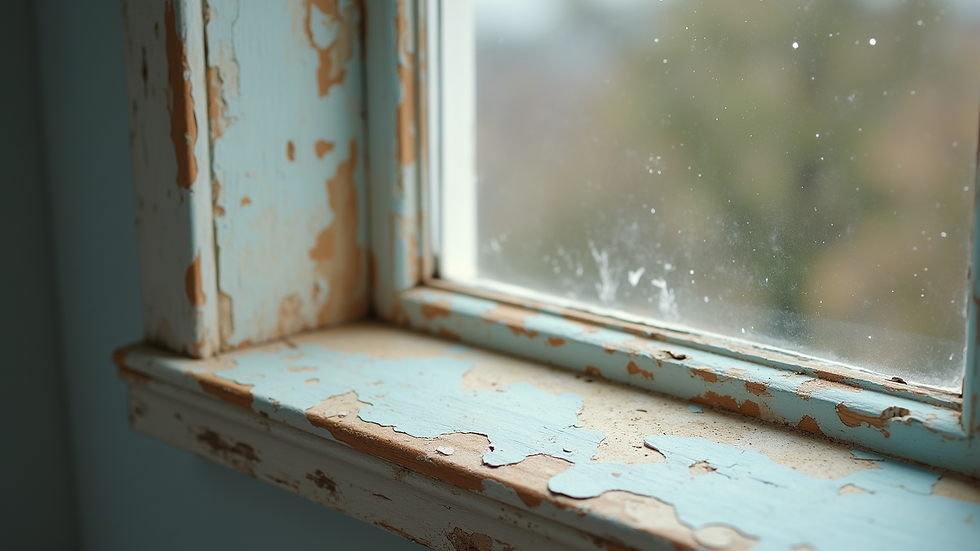
Historic window restoration is more than fixing broken glass. It involves preserving the original materials and craftsmanship. We start by assessing the condition of the window. Look for rot, cracks, missing parts, and paint failure. This helps us decide what needs repair or replacement.
One key technique is wood consolidation. When wood is soft or decayed, we use special epoxy consolidants. These strengthen the wood without removing it. This keeps the original frame intact. Another technique is sash repair. We remove the sashes carefully, repair joints, and replace broken glass panes with matching glass.
We also focus on weatherproofing. Adding weatherstripping and repairing glazing putty improves energy efficiency. These steps reduce drafts while keeping the historic look. Avoid replacing the entire window unless it is beyond repair. Restoration keeps the building’s historic integrity.
Key Historic Window Restoration Techniques
We use several techniques to restore historic windows effectively. Here are the most important ones:
Paint Removal and Surface Preparation
Remove old paint carefully using heat guns or chemical strippers. Avoid sanding that damages wood. Clean the surface thoroughly before repairs.
Wood Repair and Consolidation
Use epoxy fillers to repair small holes and rot. For larger damaged sections, splice in new wood that matches the original species and grain.
Sash Cord and Pulley Replacement
Replace worn sash cords with new, durable ones. Check pulleys and weights to ensure smooth operation.
Glazing and Glass Replacement
Remove broken or cracked glass carefully. Use putty to secure new glass panes. Match the glass type and thickness to the original.
Weatherstripping Installation
Add weatherstripping to reduce air leaks. Choose materials that do not harm the historic frame.
Final Painting and Finishing
Use high-quality, breathable paint. Apply primer first, then two coats of paint. This protects the wood and enhances appearance.
Each step requires patience and attention to detail. Using the right materials and tools is essential for long-lasting results.
Tools and Materials for Effective Restoration
Having the right tools and materials makes restoration easier and more precise. Here is a list of essentials:
Heat gun or chemical paint stripper
Putty knife and scraper
Epoxy wood consolidant and filler
Wood glue and clamps
Replacement sash cords and pulleys
Glazing points and glazing putty
Weatherstripping materials (felt, V-strip, or silicone)
Sandpaper (fine grit)
Primer and paint suitable for historic wood
We recommend using materials that are compatible with historic wood. Avoid modern synthetic fillers that do not allow the wood to breathe. Proper ventilation during paint removal and finishing is important for safety.
Common Challenges and How to Overcome Them
Restoring historic windows can present challenges. Here are some common issues and solutions:
Extensive Wood Rot
When rot is severe, remove the damaged section and splice in new wood. Use epoxy consolidants to stabilize surrounding wood.
Paint Lead Hazards
Many historic windows have lead-based paint. Use proper safety gear and follow local regulations for removal and disposal.
Matching Glass
Finding glass that matches the original can be difficult. Look for restoration glass suppliers or consider custom orders.
Sash Weight Problems
Old sash weights may be missing or broken. Replace with new weights of similar size and weight to maintain balance.
Drafts and Energy Loss
Add weatherstripping and repair glazing putty to improve insulation without altering the window’s appearance.
By anticipating these challenges, we can plan restoration work more effectively and avoid costly mistakes.
Preserving Value Through Expert Restoration
Proper restoration extends the life of historic windows. It also preserves the building’s architectural value. We recommend consulting with professionals who specialize in historic window repair. They have the experience and tools to handle complex projects.
Regular maintenance is key. Inspect windows annually for signs of damage. Clean and repaint as needed. Small repairs prevent larger problems later.
Restoring windows rather than replacing them supports sustainability. It reduces waste and maintains the original craftsmanship. This approach aligns with preservation standards and local historic guidelines.
Maintaining Historic Windows for the Future
After restoration, ongoing care is essential. Here are some tips to keep windows in good condition:
Clean glass and frames gently with mild soap and water.
Avoid harsh chemicals that damage paint or wood.
Check weatherstripping yearly and replace if worn.
Lubricate moving parts like pulleys and hinges.
Repaint every 5-7 years to protect wood surfaces.
Address any signs of moisture or rot immediately.
By following these steps, we ensure that historic windows remain functional and beautiful for decades.
Restoring historic windows is a rewarding process. It preserves the unique character of older buildings. Using the right techniques and materials, we can maintain these windows for future generations. With careful attention and regular upkeep, historic windows continue to tell the story of the past while serving the needs of today.


Comments