Mastering Historic Window Restoration Techniques
Restoring historic windows requires skill, patience, and respect for the original craftsmanship. We want to preserve the character and value of old buildings while improving their function and durability. This post covers essential techniques for restoring historic windows. We will share practical advice and detailed steps to help you master this craft.
Understanding Historic Window Restoration Techniques
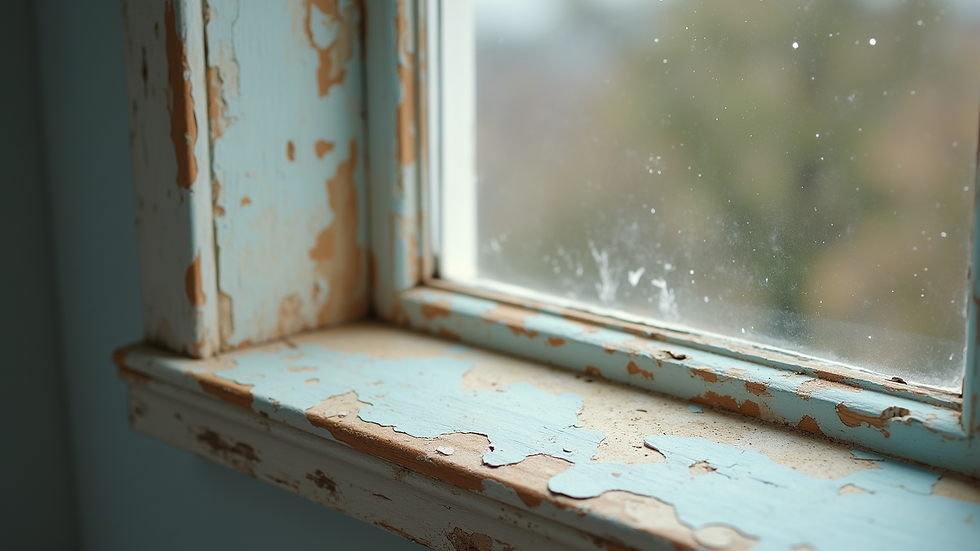
Historic window restoration techniques focus on repairing and preserving original materials rather than replacing them. This approach maintains the architectural integrity of the building. We start by assessing the condition of the window components: the frame, sash, glass, and hardware.
Common issues include:
Rotting wood
Broken or missing glass panes
Failed glazing putty
Damaged or missing hardware
Paint failure
The goal is to repair these problems using methods that match the original construction. For example, we use wood epoxy to fill small rot areas instead of cutting out large sections. We also remove old paint carefully to avoid damaging the wood underneath.
Proper restoration extends the life of historic windows and improves energy efficiency without sacrificing appearance. It is important to use compatible materials and techniques to avoid future damage.

Key Historic Window Restoration Techniques
We follow several key techniques to restore historic windows effectively:
Paint Removal
Use gentle methods like chemical strippers or heat guns on low settings. Avoid sanding too aggressively to protect the wood surface.
Wood Repair
Remove loose or rotten wood. Apply epoxy consolidants and fillers to stabilize and rebuild damaged areas. Shape the epoxy to match the original profiles.
Glass Repair and Replacement
Salvage original glass when possible. For broken panes, use period-appropriate glass types. Install glass with traditional glazing putty, not modern caulks.
Glazing
Remove old, cracked putty carefully. Prime the wood glazing rabbet before applying new putty. Tool the putty to a smooth finish and allow it to cure fully.
Hardware Restoration
Clean and lubricate original locks, hinges, and sash cords. Replace missing parts with historically accurate reproductions.
Weatherproofing
Add weatherstripping that does not alter the window’s appearance. Use storm windows if additional insulation is needed.
These techniques require attention to detail and respect for the window’s historic character. We recommend documenting the window’s condition before starting work to guide the restoration process.

Tools and Materials for Historic Window Restoration
Having the right tools and materials is essential. We use:
Chemical paint strippers designed for wood
Heat guns with adjustable temperature controls
Wood epoxy and consolidants
Putty knives and glazing tools
Fine-grit sandpaper
Replacement glass matching historic thickness and texture
Linseed oil-based primer and paint
Weatherstripping materials compatible with historic windows
Screwdrivers, pliers, and small files for hardware work
We avoid power tools that remove too much material or damage delicate wood. Hand tools provide better control and precision.
Using traditional materials like linseed oil primer and putty ensures compatibility with the original window components. Modern synthetic products can cause adhesion problems or accelerate deterioration.
Step-by-Step Historic Window Restoration Process
We follow a clear process to restore each window:
Inspection and Documentation
Examine the window carefully. Note areas of rot, broken glass, and hardware condition. Take photos for reference.
Paint Removal
Apply chemical stripper or use a heat gun to soften paint. Scrape gently with a putty knife. Remove all loose paint.
Wood Repair
Cut out severely rotten wood. Apply epoxy consolidant to stabilize remaining wood. Fill gaps with epoxy filler. Shape and sand to match original profiles.
Glass Removal and Replacement
Remove broken or loose panes. Clean glazing rabbet. Install new or salvaged glass. Secure with glazing points.
Glazing
Prime the rabbet with linseed oil primer. Apply glazing putty in thin layers. Tool the putty to a smooth finish. Allow curing for several days.
Hardware Maintenance
Clean and lubricate locks, hinges, and sash cords. Replace missing parts with period-appropriate hardware.
Painting and Weatherproofing
Prime repaired wood. Apply two coats of paint matching the historic color. Install weatherstripping discreetly.
Following these steps ensures a durable and authentic restoration.
Common Challenges and How to Overcome Them
Restoring historic windows is not without challenges. We often face:
Extensive wood rot
When rot is severe, we carefully remove damaged sections and splice in new wood. Use epoxy for smaller repairs.
Lead paint hazards
Many historic windows have lead-based paint. Use proper safety gear and disposal methods.
Matching historic glass
Finding glass that matches the original texture and thickness can be difficult. Salvaging old glass or ordering custom glass helps.
Hardware scarcity
Original hardware may be missing or broken. Search for reproduction parts or salvage from similar period windows.
Time and labor intensity
Restoration takes time and patience. Rushing can cause mistakes or damage.
We recommend consulting with experienced professionals when challenges arise. Proper planning and realistic expectations lead to better results.
Preserving Value Through Expert Restoration
Proper restoration of historic windows preserves the building’s character and value. It also improves energy efficiency and comfort. We encourage using expert techniques and materials to maintain authenticity.
For those interested in historic window repair, professional services can provide specialized knowledge and tools. This ensures the windows last for decades more.
By mastering these restoration techniques, we contribute to preserving architectural heritage. Each restored window tells a story and maintains the unique charm of historic properties.
We hope this guide helps you approach historic window restoration with confidence. Careful work and respect for original materials make all the difference. Keep these techniques in mind as you preserve the beauty and function of historic windows.

Comments